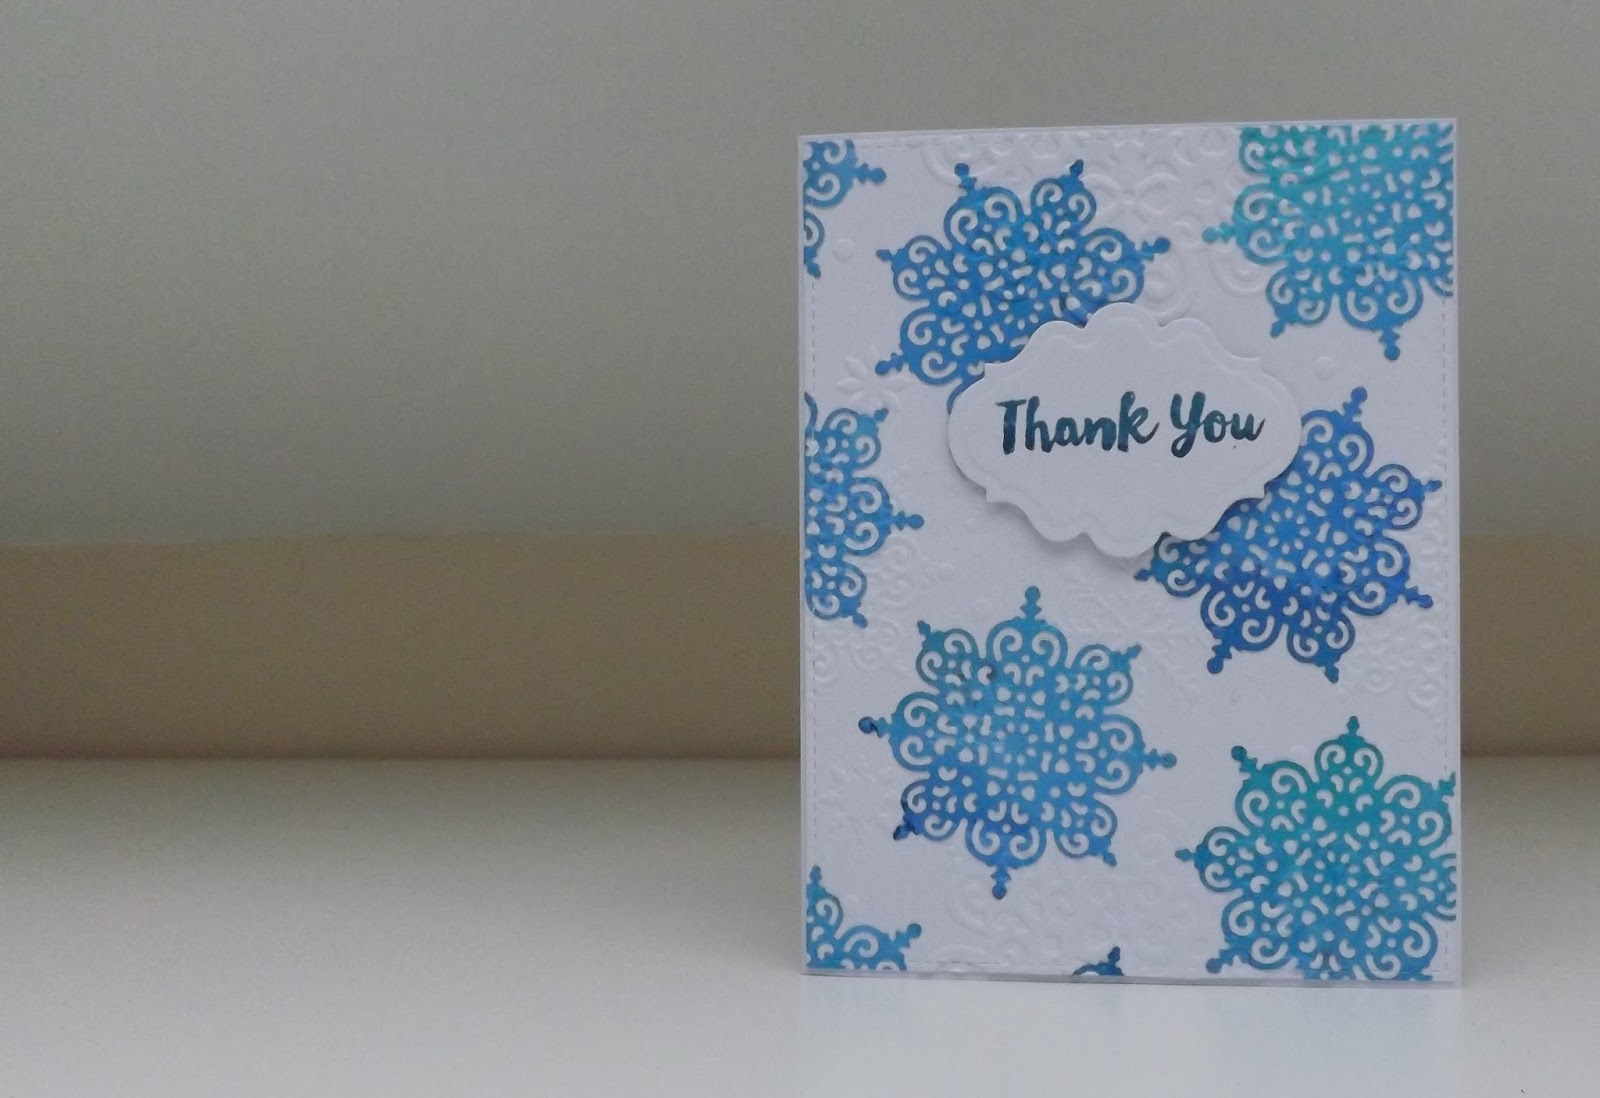
A pair of wintery themed thank you cards using the gorgeous Let it Snow die and embossing folder from issue 156 of Simply Cards and Papercraft :D This snowflake die is fabulous and cuts brilliantly :D :D :D And if you have a tool n one you'll get all the tiny pieces popped out in no time :D To create my snowflakes, I used a combination of water, and Dylusions ink sprays (mine are in different bottles in the video as I use watered down versions so they go further :D) Calypso Teal, Polished Jade and After Midnight :D I then sprinkled on some Silver Dream Pixie Powder and added lots more water to get it to move... I then used some homemade Pearly ink sprays, to make these I added a tiny bit of Daler Rowney FW Pearlescent ink to a spray bottle and topped it up with water, and the colours I used in the video were Galactic Blue and White Pearl :D I made these about 2-3 years ago now, and they're still fine (they have a bit of a funny smell lol, but they work fine :D)
Once this A5 piece of card was dry, I measured how wide the snowflake die was, and divided my card up so I could get the most out of it, and I managed to get 12 out of this A5 piece :D I then started adding them to two A6 panels of white card, I use Cosmic Shimmer glue in a fine tip applicator bottle, as it dries perfectly clear and matt too :D Make sure that if you overhang a snowflake off the edge that you make use of the piece you cut off, that way you can get a fuller background, and you won't need quite so many snowflakes :D I used all 12 for both cards :D Once the snowflakes were adhered I trimmed the panels down using my favourite stitched rectangle die, and then I ran them through the embossing folder (its funny because in real life you can see how flat the die-cuts look after being embossed and I think it would be quite difficult for someone else to figure out how you did it :D)... I also cut out a small label shape (Labels 20 from Spellbinders) and I embossing this to give it a nice defined edge, and then I ombre inked my sentiment (the sentiment stamp is from an old free gift from Simply Cards and Papercraft, issue 149) I used two Memento Dew Drop ink pads to do this (Teal Zeal and Nautical Blue) I inked with the lightest colour first (Teal Zeal) then I angled my ink pad and tapped it against the bottom of the sentiment so I just inked up half the stamp with the darker colour (Nautical Blue) don't forget if your not sure you've inked it how you want, you can also have a test stamp on some scrap paper :D :D :D Hope you like the cards :D
To see the process behind this pair of cards, please watch my YouTube video below, or over on my channel CRaFTi PoTeNTiAl :D
Lots more photos below taken from different angles to try and show the embossing folder :D