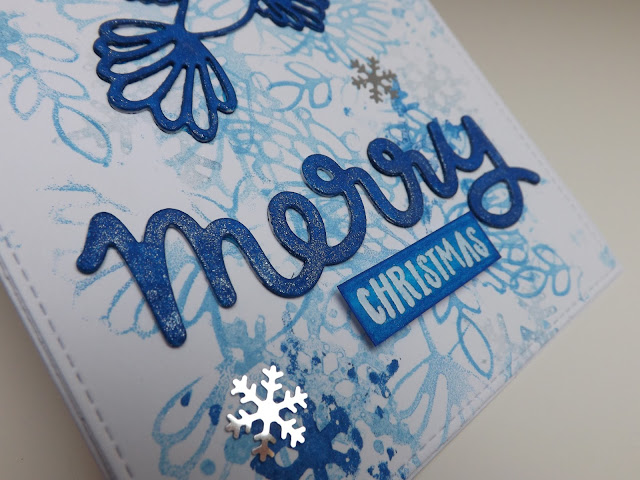
A trio of Christmas cards combining Gelli printing with funky foam die-cuts, and creating three quite different backgrounds using all the same supplies :D You can see my process in the video, but I'll try to explain what I did :D So, my original idea was to create a multi-layered print, and use Bahama Blue Artiste acrylic paint to create a frame (and I ended up stamping in a snowflake die-cut from funky foam to give some interest) then to add a layer of Periwinkle paint over the top with doves stamped into it (using the delightful dove die from Ultimate Crafts cut in funky foam) and in my head this would be really crisp and then the next layer would be Silver so that the doves would show as silver then I used white (Blanc) acrylic to pull the print off of the plate :D However, when I pulled this print some of the paint stayed on the plate and the doves had practically dissapeared lol, so I put that background to one side to work on later, I then applied Silver to pull of some of the ghost print, so I ended up with two backgrounds for the price of one... but also as I was creating these, I was stamping the excess paint from the foam stamps onto another piece of card, so I eneded up with a starting point to three backgrounds :D
I then went on to add some extra stamped elements using the foam stamps I'd made (you can see all this faffing in the video lol) Once I was happy with my backgrounds, I used my favourite large stitched rectangle from the MFT Blueprints 13 die set to give them all a finished edge and cut them down to size :D So to finish these Christmas cards, and to pull the dove back in (as this was whole point in these cards lol :D) I die-cut six doves (two stacked up for each card) and I also just got the new scripty Merry die from Lawn Fawn (I absolutely love these scripty word dies!!! I'm so glad they brought a few more out!!!) so I also cut six of these to do the same thing :D Once I'd stacked up these die-cuts I placed them onto the three backgrounds and decided what colours would work best on which card :D I left one white and added some clear sparkle, I coloured one with a Cobalt Blue Promarker and then added clear sparkle, and for the final one I felt like as the background was a light colour it needed a darker sentiment and dove, so I used my Starry Sky sparkle pen to colour them :D To finish the sentiment I used the word Christmas from an Apple Blossom stamp set, and either stamped it in a coloured ink, or embossed in clear adding colour over the top so that they coordinated :D The final touch was then the addition of a few dainty silver snowflake sequins :D Hope you like the cards!! As this design works with slightly different backgrounds, I think this would be quite a good card to batch make for Christmas, however it would involve a lot of die-cutting lol you could also swap the handmade background for patterend paper too :D
To see the process behind these three cards, please watch my YouTube video below, or over on my channel CRaFTi PoTeNTiAl :D
Plenty more photos below :D
I'm entering this card into the Simon Says Stamp Wednesday Challenge :D
http://www.simonsaysstampblog.com/wednesdaychallenge/simon-says-anything-goes-30/


