I've been loving using watercolours recently, and as a break from writing my dissertation, I made this Mother's Day card for my mum... It was great fun just sketching a daffodil and adding all the sketchy accents on top (another technique I really like at the moment :D) And of course it wouldn't be complete without one of my bumblebees :D
I'm entering this card into the Simon Says Stamp Wednesday Blog Challenge 'Spring Pintrest Inspiration' http://www.simonsaysstampblog.com/wednesdaychallenge/
Thursday, 19 March 2015
Friday, 6 February 2015
Sketchy Butterfly Trio :D
I made the card in the middle as my first YouTube video... My sister Animatortor (http://www.animatortor.com/) has been asking me to let her film me make a card for ages, and I finally agreed :D
I started with an A6 piece of watercolour paper, a butterfly stamp (this one was from a Studio 490 set) and Antique Linen Distress Ink.The stamp is mainly just for the rough outline of the butterfly, so any make of stamp would work, and I used Distress Ink as it's reactive with water so isn't noticable in the final design :D I then used my Winsor and Newton Cotman Watercolours to paint them... For the organey red one I used Cadmium Red, Cadmium Orange, Cadmium Yellow, Alizarin Crimson for the darker tones and then a mix of Dioxazine Violet and Paynes Gray for the body... For the green one I used Sap Green, Emerald, Hookers Green, Viridian and a touch of Cadium Yellow and for the darker tones and the body I used a mix of Prussian Blue and Intense Blue... Finally for the purple butterfly I used Permanent Rose, Purple Lake and Dioxazine Violet and then for the body I used Paynes Gray :D
After I'd finished painting the butterflies I added some splashes using the same colours I'd used on the butterfly wings, and I then dragged and added loose whisps of colour from the main image to create a loose watercoloured effect :D I then added rough sketchy outlines to each of the butterflys, it's amazing how such a detailed butterfly stamp can be transformed into a modernised sketchy style :D (I think this had to be my favourite part of the card!) The sentiments 'Let's Party' and 'Thank you' were from a Paper Smooches stamp set called Noggin Toppers... I stamped the sentiment and then to continue the loose theme I extended it with extra swirls :D
To see the process behind these cards, please watch my Youtube video below:
Thanks so much for watching and taking the time to view my blog :D This will hopefully be the first of many videos, although then next one might not be up for a while...
I've also decided to enter this card into the Simon Says All Things Bright and Beautiful Wednesday Blog Challenge http://www.simonsaysstampblog.com/wednesdaychallenge/
Here's a close up of the final card made in the video...
And here's a close up of another version :D
Monday, 29 December 2014
Chemistry Themed Shaker Cards :D
I got loads of lovely crafty goodies for Christmas, and I could not wait to start making cards with them :D This trio will be for friends on my Chemistry course at Uni :) I've seen the trend of shaker cards coming back in, and I couldn't resist making some of these flask dies into them :) I used the Paper Smooches Chemistry Bottles dies, and the Simply Said sentiment stamp set. I also used Simon Says Stamp stitched circle dies, and the Scripty Thanks and Stitched Journalling Card dies sets from Lawn Fawn :D For the die cut thanks, I used white card, then coloured it with a lime green promarker, I then heat embossed it with 2 layers of clear embossing powder, and then I turned it over and coloured the back with a medium blue promarker to give a mottled effect, and I did the same with the little stars too :D I really love the way these cards turned out, and I can't wait to make lots more cards with these dies :D
I am entering these cards into the Simon Says Stamp Anything Goes Wednesday Challenge Blog http://www.simonsaysstampblog.com/wednesdaychallenge/
Saturday, 6 December 2014
Cute Christmas Gift Tags :D
I placed my first couple of orders with Simon Says Stamp a few weeks ago, and two of the die sets I got were the Waffle Flower Santa add on set, and the SSS stitched circles (deffinetly the best die set I own by far!!) I've seen people use the Santa add on set with the rectangular tag die which coordinates, however I don't have that and I wanted to try something different, so I made them circular with the lovely stitched edge!! I made a few traditional red versions for my presents, and then the Christmas tree theme is purple and silver, so I made a few of that colour way to hang on the tree :D
I tried making them 2 different ways, the second works best:
1st - I drew round the outside edge of the circle die I was going to use onto the red or purple card, then I cut the beard edge and buckle out of some white card and the belt out of black, I then assembled this how I wanted it and then die cut it with the stitched cirlce, however this was now really thick and was very tricky to cut.... so I tried this....
2nd - I cut the red and purple circles first, then cut the belt, buckle and beard, then to get the stitched edges on the beard and belt, I used some maksing tape to hold them inplace to the cirlce die where I wanted them and then ran than through my grand calibur and then assembled it :D this was far easier!
For the buckles I used a silver and gold metallic markers :D
I'm entering these tags into the Simon Says Stamp Wednesday blog Challenge http://www.simonsaysstampblog.com/wednesdaychallenge/
and the SSS Monday blog Challenge
http://www.simonsaysstampblog.com/mondaychallenge/
I only just discovered these challenge blogs, and I just had to enter!! Can't wait to make so many more things with the stuff I ordered from SSS :D
Thursday, 23 October 2014
Mixed Media Style :D
I started with green and orange acrylic paint and 2 sizes of
punchanella, and I dotted this around randomly on a white piece of card,
I then let this dry. I then coloured the background using distress
stains (aged mahogany, pine needles, rusty hinge, walnut stain and
vintage photo) and when this was applied and had dried, the acrylic had
acted as a resist. I then added some stamping in walnut stain with some
texture stamps, but it was a bit too prominent, so i added some more
water and it blended out a bit. I then stamped the main image onto the
dry background in stazon and onto a spare piece of card which i also
coloured with distress stains, I then cut this out and layered it on
top. I added the dymo sentiment and a black line around the perimeter of
the background piece, but it seemed too flat hence all the white signo
uni ball detail :D I also made this card in duplicate, as i knew i was
going to give this one away straight away and i wanted one on my shelf
as inspiration :D
Tuesday, 21 October 2014
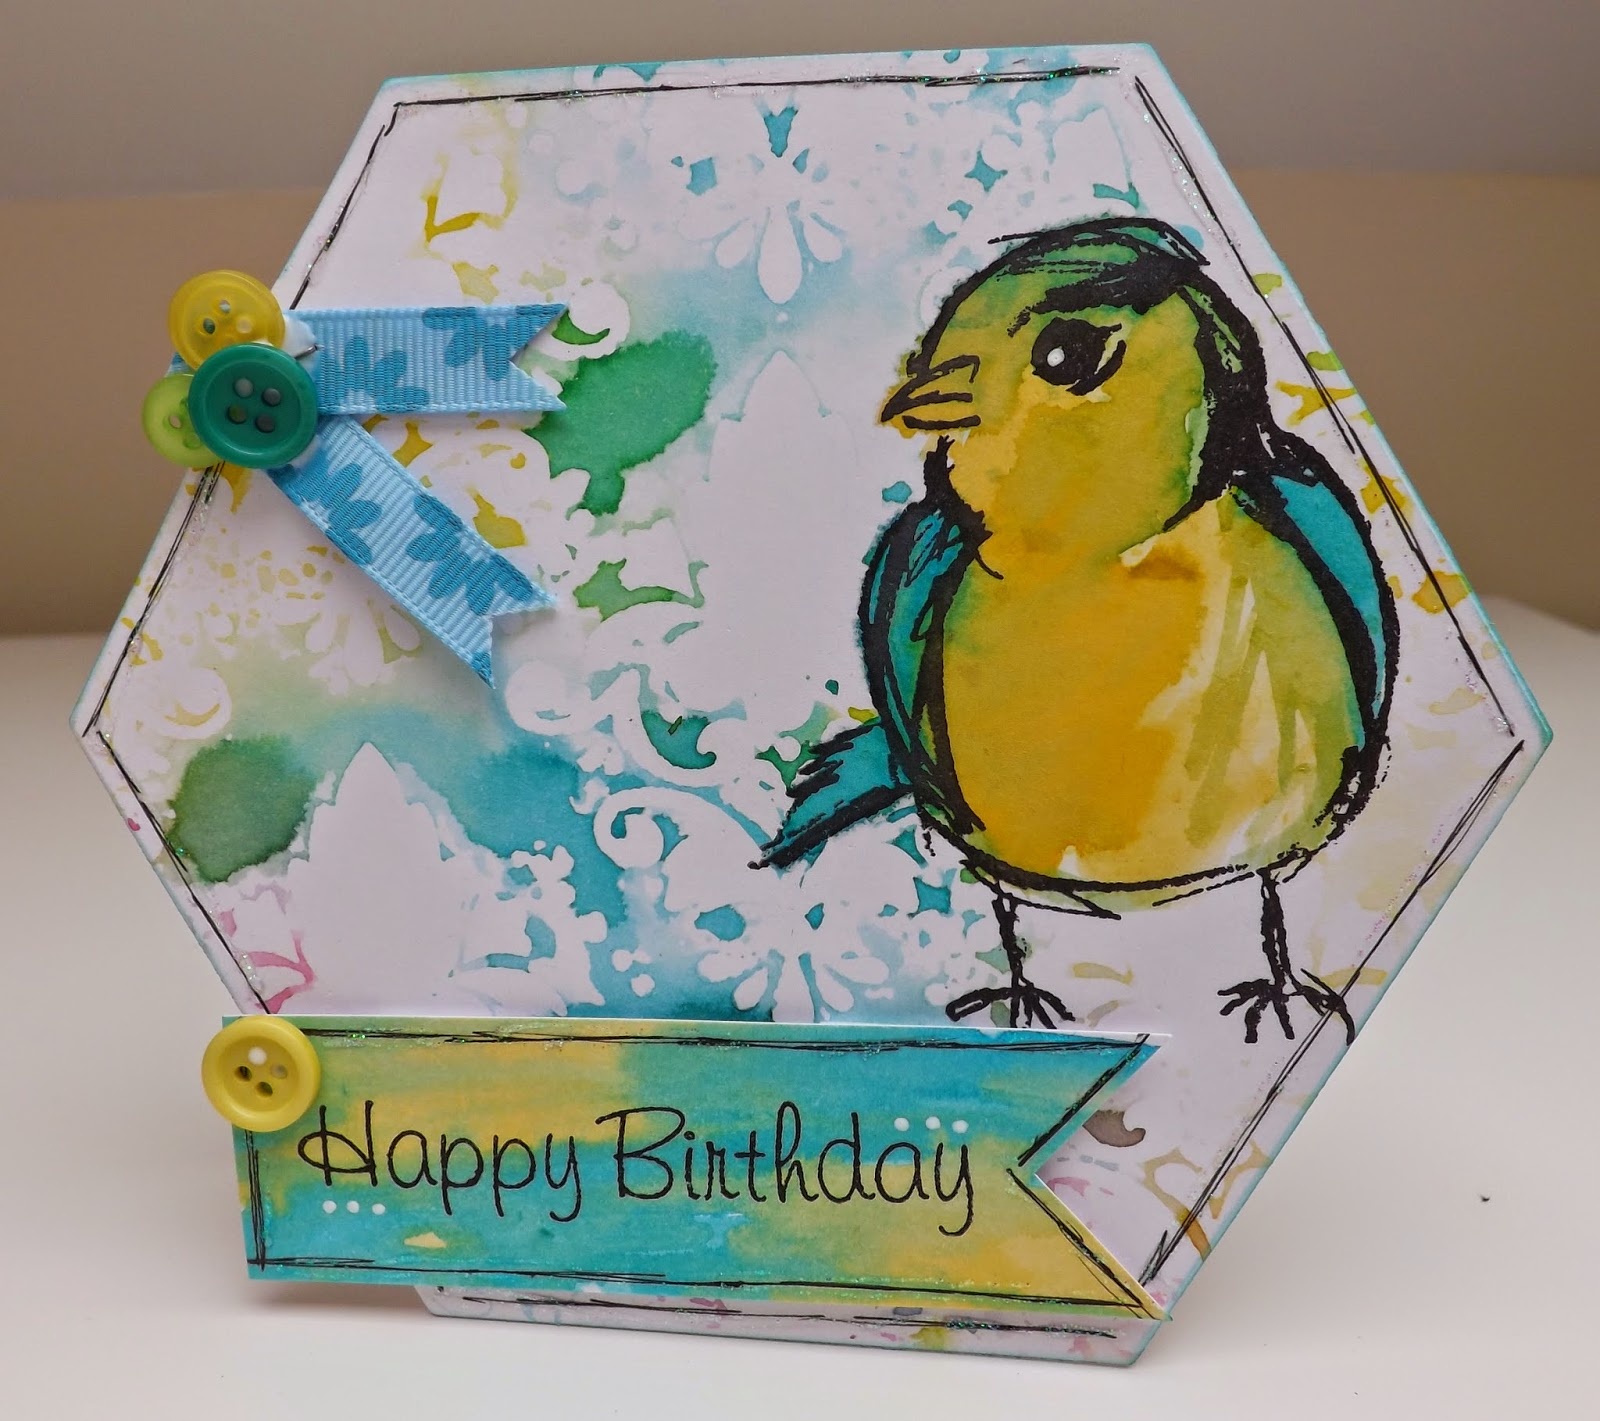
Hexagon Card :D
The background was made using a damask stencil (love this stencil!!) and
a new technique i hadn't tried before. I used the mini distress ink
pads, mustard seed, peacock feathers and picked raspberry, and i inked
up the mask, you then lightly mist over the surface with water and then
you flip over the mask and use it as a stamp, and this was the second
generation version :) The bird is another one of the Dina Wakley set (i
think this ones my favorite)... I'm not really sure about the buttons
and ribbon at the top, but it looked to empty without it...
Saturday, 18 October 2014
Two Kites :D
A simple card, with an inked cloudy background, some rolling hills out
of a couple of patterned papers and a piece I had inked... and then 2
kites made from scraps. I used bakers twine for the strings and added
the little double triangle things as 'bows'. And then to finish it all
off I added some running stitch doodles and some swirly doodles (similar
to the bakers twine string swirls) as a border :D
Subscribe to:
Posts (Atom)