Did you get hold of the gorgeous Butterfly Background and Botanical Background A6 Background Stamps with Coordinating stencils when they launched on Create & Craft? If you did, here's a cool technique that you can do with them :D I've seen people use stencils with glitter before, and I've seen people do a similar technique with stamped designs and glitter, but I've never seen anyone do it with a coordinating stamp and stencil set, so I just had to give it a go, and it works wonderfully!! :D The whole process of how to achieve this look is shown in the video below :D It's so easy to do!
You begin by stamping onto some adhesive sheets or an adhesive roll, you then stick the side you've stamped on onto a piece of acetate (this seals in the ink between the adhesive and the acetate). You'll then need to prepare your stencil by adding on some Nuvo Clear Mark ink pad (this will help the stencil release from the adhesive later on) and you want to make sure you're doing this on the front side of the stencil, so it'll match up with the stamped image (which is now reversed because we stuck it to acetate). Remove the backing paper from the adhesive and place your stencil on top, then use the Nuvo spoon to place on your different glitter colours. Press the glitter into place, and use the surface sweep to remove any excess. Carefully remove your stencil to reveal your coloured design, then add Ice White glitter to the reaming exposed adhesive. And voila! you have your perfect glitter stenciled image :D I've used mine with the glitter side face up, but if you want a more defined outline, you can also use it the other way up too :D
Hope you enjoyed this cool glittery technique, and if my ramblings above aren't too clear, make sure to watch the video as it might make it all make a little more sense :D :D
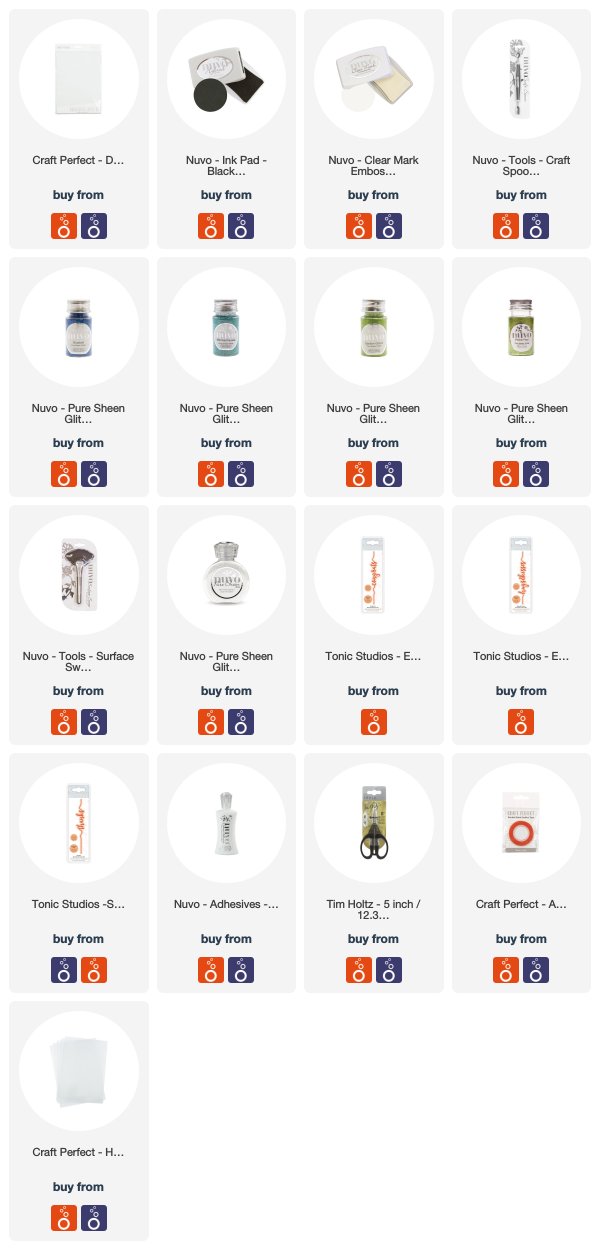
Main products used :D

To see the process behind this trio of cards, please watch my YouTube video below, or over on my channel CRaFTi PoTeNTiAl :D
Lots more photos below :D


